blunova Wireless Controller Quick Start Guide
Warning!
Please follow the instructions closely or will result permanent damages to the light!
Set the Host Number of the Wireless Controller
Go to “Settings” by pressing “SET” key at standby menu. Choose “Light” using “+” or “-” and press “SET” to select. Choose “Set Host Number”.
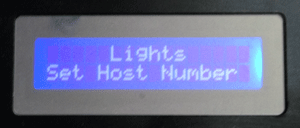
Choose a host number other than “0″.
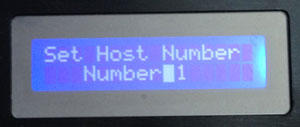
Pair up the light with the wireless controller
Go to “Settings” -> “Light” -> “Add Light”.
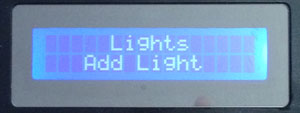
Press “SET” again
The screen will ask you to connect the light using USB cable.
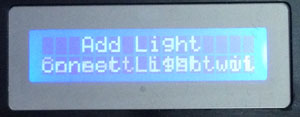
Plug in the USB cable to the light. Please also plugin the power cable for the light.
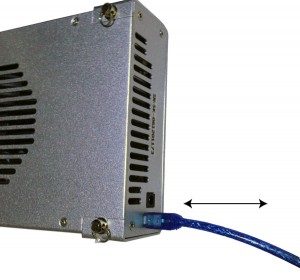
Plug in the USB cable to the wireless controller.
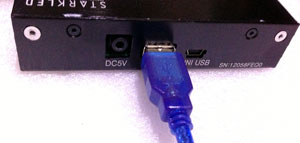
Press “SET”, you should see “Found New Light”
You should see your light flash briefly.
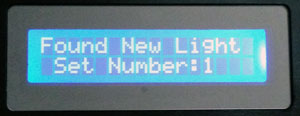
Press “SET” again to save the light
Your light should continue to flash unless you press “ESC”
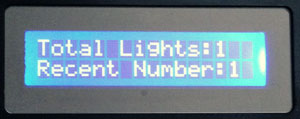
Disconnect the USB cable
View Paired Lights
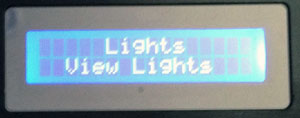
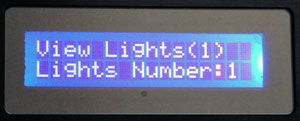
Go to “Settings” -> “Light” -> “View Lights”
Your light should continue to flash unless you press “ESC”
